


Sliding Wardrobe Door Measurement Mistakes Guide
Table of Contents
- Why Accurate Sliding Wardrobe Door Measurement Matters
- Tools Required for Precise Wardrobe Door Measurements
- Measuring Opening Width and Height Correctly
- Accounting for Uneven Walls, Ceilings, and Out-of-Square Openings
- How to Install Sliding Wardrobe Tracks on Carpet
- Adjusting Sliding Wardrobe Doors for Uneven Floors
- Common Measurement Mistakes to Avoid
- Conclusion
Last Updated: August 29, 2026
Why Accurate Sliding Wardrobe Door Measurement Matters
Getting your sliding wardrobe door measurement wrong is one of the most costly mistakes in a bedroom renovation. Custom doors arrive perfectly built, then don't fit, sometimes by several centimetres. The reason is simple: most people measure once in one spot and assume the rest matches. It doesn't. Walls aren't plumb, ceilings aren't level, floors aren't flat. In older properties, these variations compound quickly across even a small 1.5-metre opening.
DoorsDirect has guided many through this process. The pattern is always the same: those who get it right measure multiple times, account for every obstacle, and check their work. This guide shows you how to measure so your installation goes smoothly, covering the tools you need, the measurement points that matter, and the mistakes that catch people out.
Tools Required for Precise Wardrobe Door Measurements
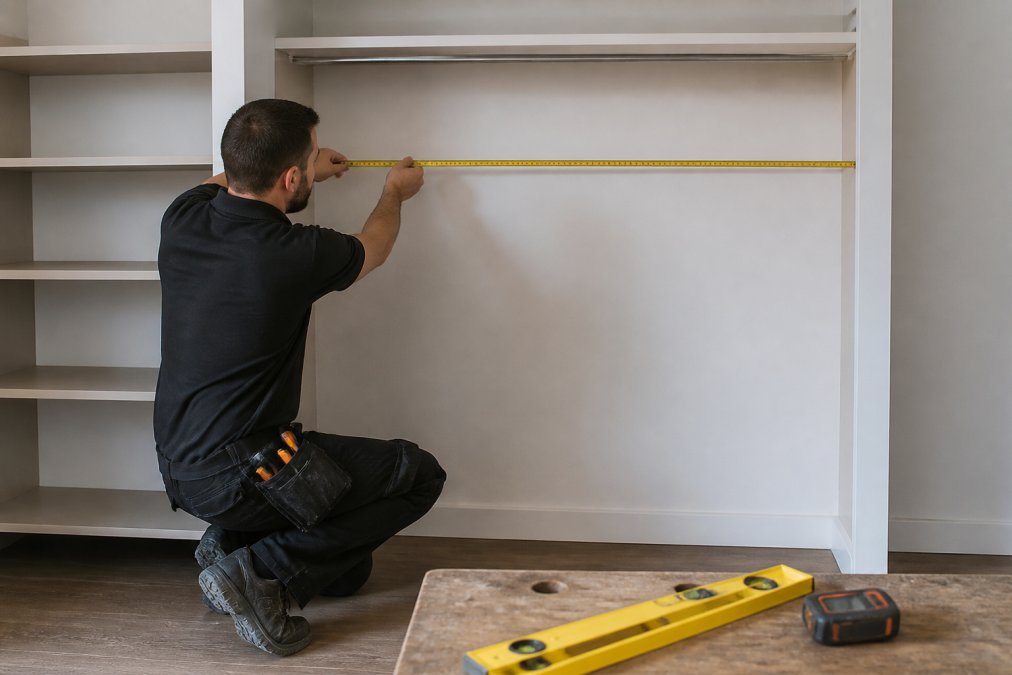
A tape measure alone won't work, you can't hold it perfectly level by hand. You need:
A metal tape measure (at least 5 metres) with a locking mechanism for consistent readings. Fabric tapes stretch and give inaccurate results.
A spirit level (1-metre works well) to check whether walls are plumb and floors are level, identifying where your opening is out of square.
A laser measure (under £30) removes guesswork from holding a tape level and gives consistent readings across multiple points.
Pen and paper to record every measurement as you take it. Take photos of measurements written on the wall for a visual record of where each number came from.
Measuring Opening Width and Height Correctly
Recording width measurements at three points
Measuring width only once, usually in the middle, is the most common mistake. If walls are even slightly out of plumb, this single measurement will be wrong at the top or bottom.
Measure width at three points: top, middle, and bottom. Use your laser measure or hold your tape level using a spirit level as a guide. If all three measurements are within 5 millimetres of each other, your opening is square enough for standard installation. Variations larger than 10 millimetres need to be reported to DoorsDirect so they can adjust how doors are built and tracks are set up.
Measure from the inside of the frame on one side to the inside on the other. Don't measure from outside edges, as this includes frame thickness and throws calculations off.
Recording height measurements at three points
Height measurements are trickier because ceilings might slope, especially in loft conversions. Measure at three points: left side, middle, and right side, using a level to ensure you're measuring vertically.
Record all three measurements. Variations larger than 5 millimetres need to be noted, especially which side is taller. This ensures doors hang properly and won't jam at the top.
Measure from the finished floor (including carpet or flooring) to the underside of the ceiling or soffit, not to coving or decorative trim.
Accounting for Uneven Walls, Ceilings, and Out-of-Square Openings
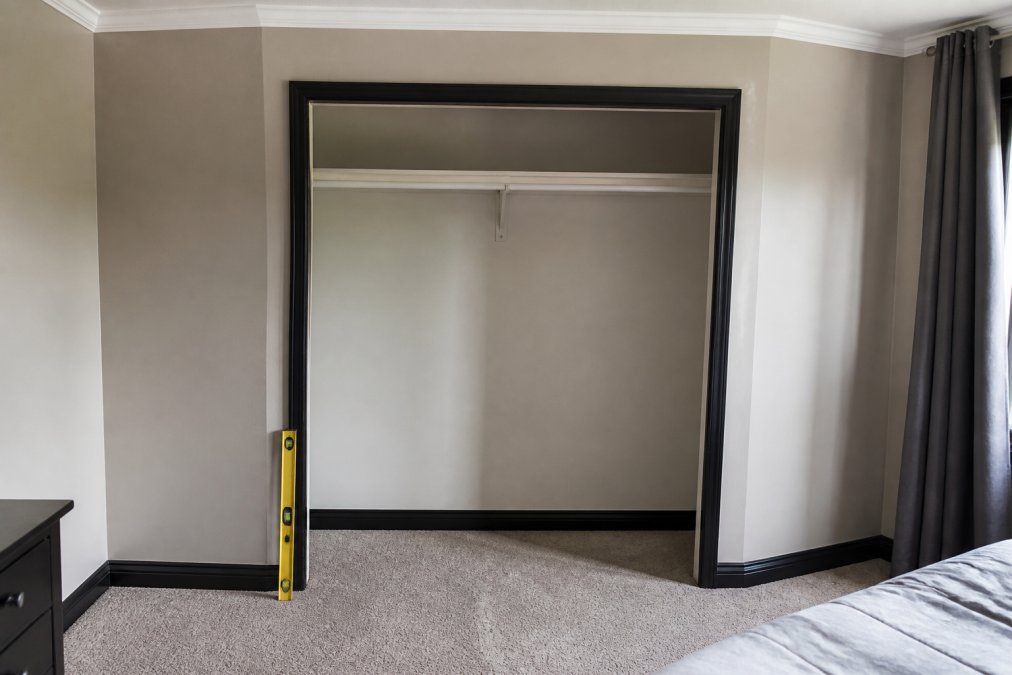
Most wardrobe openings aren't perfectly rectangular. Use your spirit level against each wall to check if it's plumb. If the wall leans inward at the top, the opening is narrower at the top. For sloped ceilings, measure height at both sides and note the difference.
Out-of-square openings are why DoorsDirect recommends consultation before ordering, especially for older properties. A room 20 millimetres out of square can usually be handled with standard shims. A room 50 millimetres or more out of square might need custom track work or a different door configuration.
Take photos of your opening from multiple angles, showing any visible lean in walls, slope in ceiling, or dips in floor. These help DoorsDirect understand what they're working with.
How to Install Sliding Wardrobe Tracks on Carpet
Installing tracks over carpet introduces a complication: carpet thickness affects clearance between the bottom of the door and floor. If you don't account for this, doors might catch or sit too high.
Measure carpet thickness by pulling it back and measuring from pile top to backing. Most domestic carpets are 10-15 millimetres thick (peer-reviewed research). When you order, tell DoorsDirect you have carpet and give the thickness. They'll build doors to clear it by a few millimetres.
The bottom track sits on top of carpet. Make sure carpet is firmly fixed underneath where the track will go, loose carpet will shift and cause binding. Some installers recommend removing a strip of carpet where the track will sit and replacing it with hard flooring (usually a thin aluminium threshold) to create a stable surface. Ask DoorsDirect whether this is recommended for your opening.
Adjusting Sliding Wardrobe Doors for Uneven Floors
Even a 10-millimetre variation across a 1.5-metre opening causes doors to stick or roll unevenly. Before measuring, check if your floor is level using a spirit level across the opening width. If the bubble isn't centred, your floor slopes.
Measure the height difference from one side to the other using a laser measure and a straight edge. If the floor slopes more than 10 millimetres, the bottom track might need shimming during installation. Document the direction of the slope, whether it's higher on the left, dips in the middle, or slopes another way.
For slopes greater than 20 millimetres, you might need professional installation. DoorsDirect can advise whether your floor requires specialist fitting.
Common Measurement Mistakes to Avoid
Measuring only once instead of at multiple points
A single measurement in the middle tells you almost nothing about actual space dimensions. If walls are even slightly out of plumb, that middle measurement will differ from top and bottom measurements.
Always measure at three points for both width and height. For openings larger than 3 metres, measure at four or five points instead.
Forgetting to account for skirting boards and coving
Skirting boards run along the base where wall meets floor. Coving runs along the top where wall meets ceiling. Both take up space your system needs to clear.
If skirting is 100 millimetres tall, your bottom track can't sit flush against the wall, it needs to sit in front of the skirting, changing opening depth. Measure skirting depth (how far it sticks out) and note it. Similarly, measure coving depth and height. Deep or tall coving might prevent standard top track installation.
Ignoring floor-to-ceiling clearance and door overlap
Sliding wardrobe doors overlap slightly where they meet, typically 10-20 millimetres. If you measure opening height as 2000 millimetres without accounting for overlap, you might order doors that don't fit properly.
Ask DoorsDirect for the overlap dimension when planning your order. They'll tell you exactly how much space it takes up. If one side of a sloped ceiling is 2100 millimetres and the other is 2050 millimetres, doors need to fit the shorter side.
Neglecting floor finishes and structural considerations
Different floor finishes have different thicknesses. If you're changing from carpet (15 millimetres) to hard flooring (5 millimetres), your doors will be 10 millimetres too tall.
Check whether pipes, cables, or ducts run through where your track will be installed. If there are, you might need to route them or adjust installation. DoorsDirect can advise if you mention it.
Getting your sliding wardrobe door measurement right is the difference between a smooth installation and a frustrating one. Measure at multiple points, account for every obstacle, and don't skip details that seem minor, skirting boards, coving, carpet thickness, and floor slopes all matter.
When you're ready to order, DoorsDirect offers expert guidance from measurement to final fit. Our team has handled many installations, including awkward spaces and unusual configurations. We'll review your measurements, ask the right questions, and build doors that fit perfectly. With our three-stage quality check process and ten-year guarantee, you can order with confidence. Explore our custom sliding wardrobe door options and get started on your perfect wardrobe today.

Frequently Asked Questions
What are the most common mistakes when measuring for sliding wardrobe doors?
The biggest mistakes are measuring only once instead of at multiple points, ignoring skirting boards and coving, and forgetting to account for uneven floors or out-of-square walls. Many people also fail to measure floor-to-ceiling clearance or account for carpet depth, which causes doors to bind or overlap incorrectly. Always take measurements at top, middle, and bottom of the opening, and use a spirit level to check if walls are plumb and ceilings are level.
How do I account for uneven floors when measuring wardrobe openings?
Measure the floor-to-ceiling height at multiple points (left, centre, right) to identify slopes. If the floor slopes more than 10mm across the opening width, note the highest and lowest points. This information is critical when adjusting sliding wardrobe doors for uneven floors after installation. Document the exact slope angle if possible, as your supplier can adjust the bottom track accordingly to ensure doors slide smoothly and close properly.
Do I need to measure the wardrobe opening at multiple points?
Yes, absolutely. Measure opening width at the top, middle, and bottom. Measure height at the left, centre, and right. This reveals whether walls are plumb and ceilings are level. Rooms with sloped ceilings, loft conversions, or old buildings often have variations of 10-20mm or more. Recording all three measurements allows your supplier to manufacture doors that fit perfectly and slide without binding, preventing costly errors after delivery.
What tools do I need for accurate sliding wardrobe door measurements?
You'll need a steel tape measure (at least 5 metres), a spirit level to check plumb and level, and ideally a laser measure for hard-to-reach areas or sloped ceilings. A pencil, notebook, and camera are essential for recording measurements and photographing the opening from different angles. For carpeted floors, note the carpet pile depth and underlay thickness, as this affects how the bottom track sits. A set square or angle finder helps identify out-of-square corners.
This article was written using GrandRanker
Leave a comment